
Adobe Photoshop
Hello all previously we have focused on New Features of Photoshop CC 2019 For further to acknowledge our knowledge we are focusing on Types of Selection Tools.

Selection is the most important and very first thing to do in a designing application. We use Photoshop to form modifications in images, designs, and various design associated with other stuff, so what you want to change and where you want to change needs to be decided before making changes?
Adobe Photoshop is the professional image-editing software for professional graphic designers. Basically, special effects fall under two categories; first is bitmap which we will technically call Raster graphics and these images are made-up of a grid of dots referred to as pixels. Photoshop edits and composes raster images in multiple layers.
- Selection Tools
In photoshop, we have choices in Selection tool; As per our requirement we can use them. Also, you can edit, apply filters & effects on them. However, leaving the unselected areas untouched.

- Rectangular Marquee
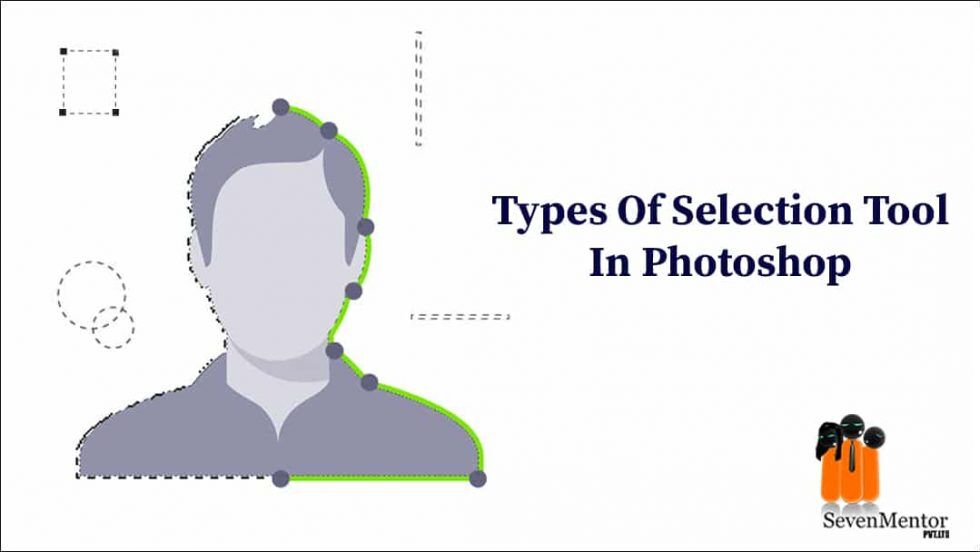
There are separate sets of tools to form selection of raster & vector data. For Example, to pick bitmap pixels, we will use the marquee tools or the lasso tools.
For Free, Demo classes Call: 7263013931
Registration Link: Click Here!
The ‘Marquee Tool’ is that the most elementary selection tool available in Photoshop. This tool selects rectangular and square areas. To select a square area of the image, make a variety keeping the Shift key pressed.

- Elliptical Marquee
To draw an oval selection with the Elliptical Marquee Tool, simply click at the purpose where you would like to start the choice, then hold your mouse button down and drag in the direction you need until you have the object or area surrounded by the selection outline. Release your mouse button to complete the selection.

- Single Row Marquee Tool
The Single Row Marquee Tool is beneficial once you got to trim just a small wee bit from the sting of a picture. When selected and used, this tool selects just one pixel wide area from a picture. Imagine yourself performing on a picture and you only got to copy alittle share of it.

- Single Column Marquee Tool
Single Column Marquee Tool creates one pixel wide and every one image high column selections: to pick a row within the Toolbox, select the only Column Marquee Tool and click on on the image. While New selection option chosen on the Options bar by creating new selection you delete existing selection.

- Lasso Tool
The lasso is an editing tool available, with minor variations, in most digital image editing software. It is often accessed from the quality main menu, by clicking the icon of a line shaped sort of a rope lasso, from which the common name arises.

- Polygonal Lasso Tool
Polygonal Lasso Tool, another of its basic selections tools, may be a bit sort of a cross between the oblong Marquee Tool and therefore the standard Lasso Tool. It allows us to simply draw freeform selection outlines supported straight-sided polygonal shapes.

- Magnetic Lasso Tool
The Magnetic Lasso Tool creates selections, automatically clinging to edges of contrast objects; Edge Contrast defines tool’s sensitivity. Frequency defines how often the tool sets anchor points.

- Quick Selection Tool
You can use the fast Selection tool to quickly “paint” a variety using an adjustable round brush tip. As you drag, the choice expands outward and automatically finds and follows defined edges within the image.

- Magic Wand Tool
The ‘Magic Wand tool’ will select a consistently colored area without having to trace its outline. We specify the colour range or tolerance for the Magic Wand tool’s selection. It is wont to select a neighborhood for a selected color. So, from this tool, we can also make a selection. By pressing the Shift key we can add selection and by pressing the Alt key we can subtract the selection.

Pen Tool
Select the pen Tool from the toolbar (or press P). All you’ve got to try to to is click to make the sides of your shape. After completing it, you’ll see a touch O if you hover over the primary point. you’ll then click thereon first point to shut the form. To turn this into a variety, right click and attend “Make Selection.” Whenever you’re working with the Pen Tool, it creates paths. this is often why you don’t see your shape on a layer; it’s stored during a different place. If you would like to change a variety, attend the paths tab and click on on the Work Path. From here, you’ll hold down CMD and click on on any point to makeover it around.
Magical tip: Hold ALT/OPT and click on on some extent to show it from a Curve to a line, and the other way around.
The pen tool truly just takes some practice. Spend time fooling around with shapes and anchor points!
Pen Paths:
If you think that about it, the straightforward shapes you’ll create from scratch with the pen Tool are a number of equivalent shapes that you simply might use to stipulate a figure- just simple Curves and features. When selecting a component in a picture, apply an equivalent basic pen Tool technique we just went over. It tends to assist if you decide on just inside the sting of the figure (you can always refine that edge later).
Don’t ditch the magical tip from before! If you would like to make a pointy edge or change direction in your Curve, hold the ALT/OPT key and alter the purpose.
You can also hover over any point until you see a touch minus symbol, and click on to delete that time. an equivalent works within the other way if you would like to feature some extent (you will see a touch plus symbol). Once you’re finished, make certain to shut up your path by hovering over the primary point and clicking it. Again, to make a variety from your path, right-click and choose “Make Selection.”
There are many options when creating graphic files, so why it that occasionally some files is can appear clear and crisp when used on the online, while others can appear blurry or pixelated?
For Free, Demo classes Call: 7263013931
Registration Link: Click Here!
Raster Graphics & Vector Graphics

The Raster Graphics:
Raster images use bit maps to store information. This means a large file needs a large bitmap. The larger the image, the more disc space the image file will take up. As an example, a 640 x 480 image requires information to be stored for 307,200 pixels, while a 3072 x 2048 image must store information for a whopping 6,291,456 pixels. We use algorithms which compress images to help reduce these file sizes. Image formats like jpeg and gif are common compressed image formats. Scaling down these images is easy but enlarging a bitmap makes it pixelated or simply blurred. Hence for images which need to scaled to different sizes, we use vector graphics.
File extensions: .BMP, .TIF, .GIF, .JPG
The Vector Graphics:
Making use of sequential commands or mathematical statements or programs which place lines or shapes in a 2-D or 3-D environment is referred to as Vector Graphics. Vector graphics are best for printing since it is composed of a series of mathematical curves. As a result vector graphics print crisply even once they are enlarged. In physics: A vector is something which has a magnitude and direction. In vector graphics, the file is made and saved as a sequence of vector statements. Rather than having a bit in the file for each bit of line drawing we use commands which describe series of points to be connected. AS a result a much smaller file is obtained.
File extensions : .SVG, .EPS, .PDF, .AI, .DXF
- Difference between Raster and Vector Graphics:
- There are two basic sorts of digital graphic images existing on the web: vector and raster (bitmap images). Quite often, people wonder what the differences between the both image types are. They struggle in telling them apart and deciding which sort is acceptable for his or her projects.

- Scalability of vector and raster:
The first factor which will assist you define whether a particular image is in vector or raster format, is scalability. Vector images don’t lose their sharpness and clarity, regardless of to what extend or what percentage times you modify their size.
In contrast, raster (or bitmap) images get blurry and pixelated once you examine them from a close-up. Let’s illustrate it for you, so you’ll better see the difference.
- Resolution of vector and raster:
There is a significant difference of how the resolutions of vector and raster formats are defined. The resolution of the raster graphics is formed by millions of square pixels, dots per inch (DPI) or pixels per inch (PPI), so their size is always a fixed value. If you don’t need a bitmap image to lose its quality, you’ll only scale it down. Consequently, the more you expand it, the more blurred it becomes.
Vector graphics, on the other hand, are made up of plenty of paths, mathematically defined in terms of ratios, proportions, width, height and other dimensions. Every time you resize a vector image, its lines, curves and nodes are recalculated, therefore the result image remains sharp and clear. As you’ll expect, the sides remain smooth in the least times.
- Creation of vector and raster
The digital image creation is usually quite different for the 2 types. Vector images can be easily transformed into raster ones but it is more complicated and time-consuming to work the other way around.
Vector graphics can be only created with a specialized software such as Adobe Illustrator. This makes it impossible for photos, for instance, to be taken in vector format. In addition to the present, all printed images and photos crazy digital cameras, are in raster format. All in all, vector graphics which resemble realistic photos, are nothing but finely detailed digital illustrations. In the following illustration you’ll see how a vector image is made.
Author:-
Yojana Dabke
Call the Trainer and Book your free demo Class for now!!!

© Copyright 2019 | Sevenmentor Pvt Ltd.